Planting tips to bring some colour into your life this Springtime.
This is a guest post by Butlers Homeware Ltd. – www.butlershome.ie
NOW IT’S GETTING COLOURFUL
Digging your hands into the cool earth, the smell of fresh greenery and onions from which the first flowers will soon sprout: Even without your own garden, nature can be brought home, because even the smallest balcony can be decorated with colorful flower pots and selected plants get ready for spring!
Here we show you what to look out for when planting and which flowers are suitable for the windowsill or outside.
THE RIGHT TIME TO PLANT
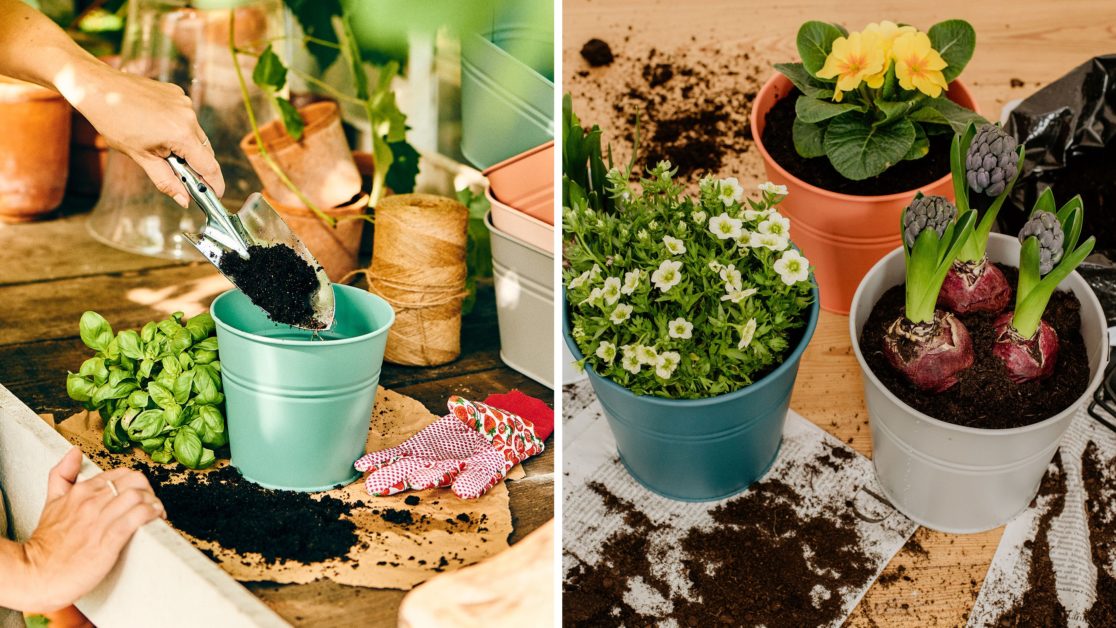
Kitchen herbs from the supermarket should be repotted immediately after purchase. Blue hyacinths and yellow primroses are THE eye-catchers on the balcony.
There are big differences when planting: some people start planting small flower bulbs under the ground in autumn, while others only think about planting their balconies when the first mild spring temperatures arrive.
But even the late hobby gardeners among us can enjoy nature, because in the nursery or garden center there is a large selection of great and already flowering plants that only have to be transplanted and potted. In this way, the balcony can be transformed into your own little green paradise with little effort.
STEP BY STEP TO THE BLOOMING BALCONY
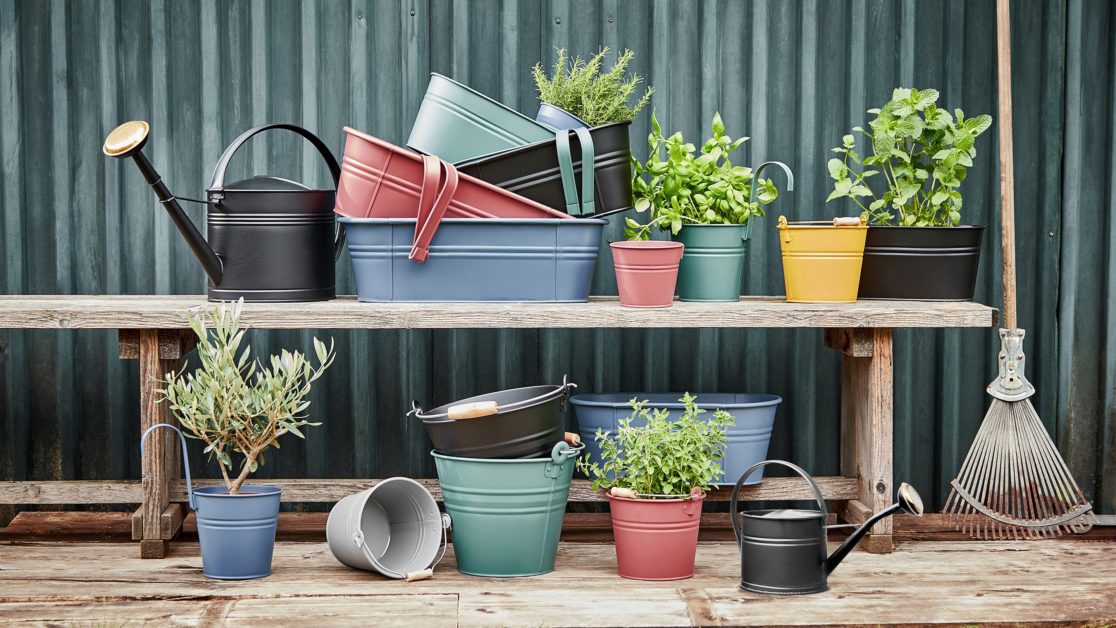
Flowerpots and planters in spring colours bring a breath of fresh air into the apartment, onto the balcony and terrace.
The preparation: On some balconies, there is not much space to work, but the plants can also be placed in the new flower pots in the apartment. Before you start transplanting and planting, cover the ground with a bedsheet, a blanket or simply with newspaper.
Which plants? Classic balcony plants such as primroses or bulbous plants such as hyacinths and daffodils are easy to care for and impress with their colourful appearance. Whether in individual pots on the floor, a hanging basket or in a long box on the balcony railing; as long as the flowers are not in the blazing sun and get some shade and a light breeze from time to time, nothing should go wrong.
Easy-care and delicately scented lavender, evergreen plants such as boxwood, lush hydrangeas or kitchen herbs such as rosemary, basil and thyme are also suitable for sunny balconies.
Which flower pots? Colourful flower pots made of zinc put you in a good mood and also defy the moody April weather. The pots also do not rust, so they keep their beautiful colour even in wind and rain. With a detachable handle, the pots can be put down or hung up very easily.
STEP 1: LOOSEN ROOTS
Carefully loosen the root balls – this way they can grow better.
Before pulling the plant out of the plastic pot, check whether the roots have already made their way through the ventilation holes. If this is the case, carefully loosen the roots to avoid breaking them. Then loosen the roots with your fingers. On the one hand, this allows some fresh air to reach the bulbs and, on the other hand, the tender roots then spread faster in the new soil.

STEP 2: FILL FLOWER POTS WITH SOIL
Fresh potting soil with lots of nutrients provides the plants with the best possible care.
First, some fresh soil is filled into the flower pot, then the flower is inserted. In this way, the roots do not hit the ground and have a soft and nourishing subsoil. How much soil is needed depends on the height of the pot. However, it should be enough so that the flowers do not sit too deep in the pot and the blossoms and leaves can spread.
Tip: There are already many important nutrients in potting soil so that the plants are fully cared for. Often there is no longer any need for additional fertilization.

STEP 3: PRESS DOWN THE SOIL
Press the soil down a little so that the flowers have a firm hold.
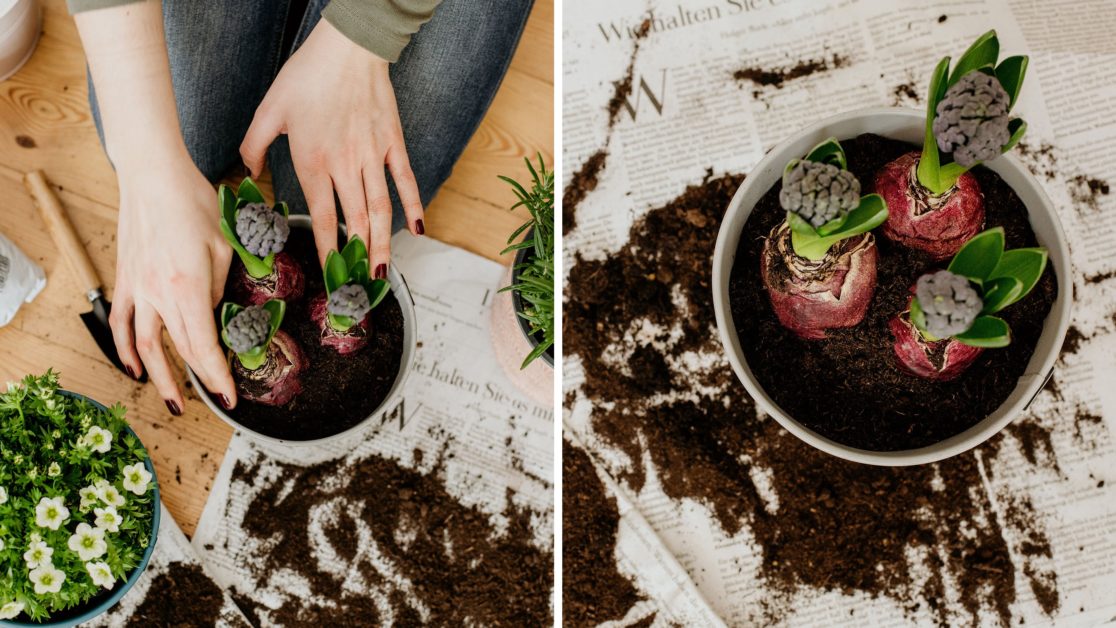
Some soil is now also filled in above the plant so that it is supplied from all sides and from above. With hyacinths or daffodils, however, the bulbs should not be completely covered by soil, but may peek out a little.
The soil is pressed firmly with the fingers so that the plants and flowers have a secure footing and do not collapse or buckle in wind and weather.

STEP 4: DON’T FORGET TO WATER!
If the top layer of soil has dried, it is watered. Then everything will be green and blooming with you.
Whether balcony flowers or kitchen herbs: When all the plants are in their new pots, the watering can is used. With its soft jet, it ensures that all parts of the pot receive an even amount of water and that the flowers are not “drowned” in the water jet.
A hole in the bottom of the flower pot allows the water (whether from a rain shower or from the watering can) to drain away so that there is no waterlogging. With pots without a hole, be careful not to water too much and too often, but only so that the soil is well moistened.
Tip: Water the basil from below and give the rosemary fresh water at regular intervals.

